How this blog runs
This post is slightly technical and it would be useful to have some knowledge of data fetching and website deployment. TL;DR is that I built this site and blog using Markdown files and Eleventy static site generator.
Why #
I created this site as my little corner of the internet. A space that's truly mine. I didn't want to rely on paid platforms like Substack or Medium because I believe in decentralization. Owning my content and having full control over my site is important to me. Plus, I thought that building it myself might be a fun coding challenge.
Here's what I set out to achieve:
-
Own my content – No lock-ins, no platforms deciding what happens to my writing.
-
Easy posting and editing – Writing should feel effortless, not like managing a system.
-
Future-proof format – Markdown is simple, portable, and built to last.
-
Lightweight and fast – No unnecessary bloat, just clean and speedy pages.
-
Content first – The words should shine, not be buried under distractions.
This blog is a work in progress, and that's part of the fun.
The process #
-
Create notes in Notion
-
Generate the notes
-
Push to a Git repository
-
Deploy the site
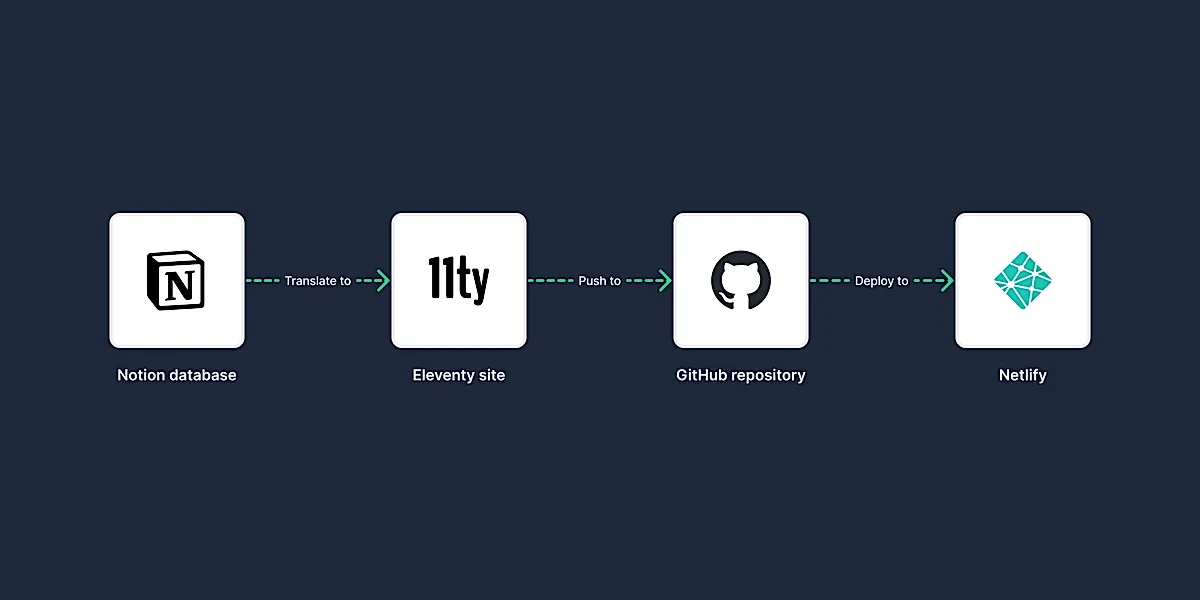
Tools and technologies #
-
Notion – Content creation and organization
-
Eleventy – Static site generator
-
Git – Version control and code management
-
Netlify – Automated deployment and performance monitoring
Create notes in Notion #
Everything starts in Notion. I considered alternatives like Obsidian, but ultimately, I chose Notion because I already subscribe to it, and its database functionality is a good fit for my needs. I'm also familiar with the tool, so it made sense to use it.
I needed a way to organize tags and have control over when a note gets published, and Notion provides a structured way to manage that.
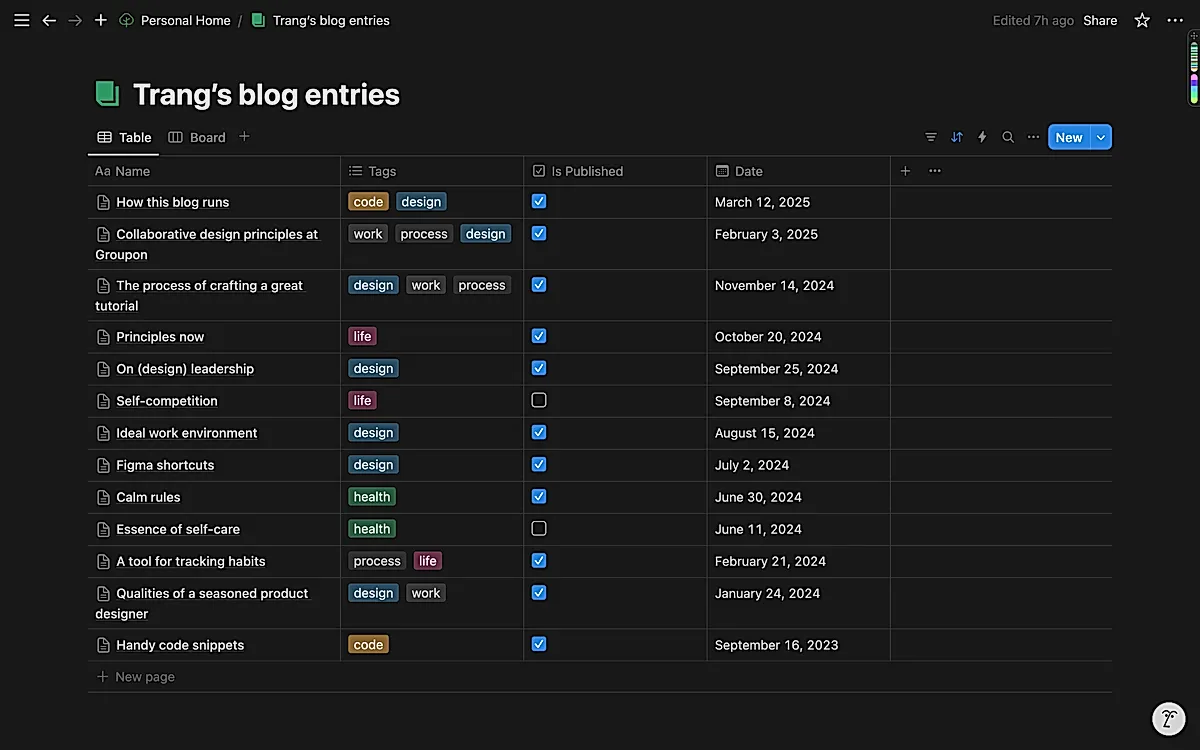
I usually start by drafting the post, refining it, and making adjustments until I'm satisfied. Once it's ready, I mark the Is Published checkbox in Notion to publish it.
Generate the notes #
After ensuring I'm happy with the note(s), I run a Node.js script named fetch-notion.js that:
-
Connects to Notion via Notion API.
-
Fetches published notes.
-
Downloads images and optimizes them.
-
Converts Notion content to Markdown.
-
Saves posts as
.mdfiles. -
Deletes old files to keep the notes clean.
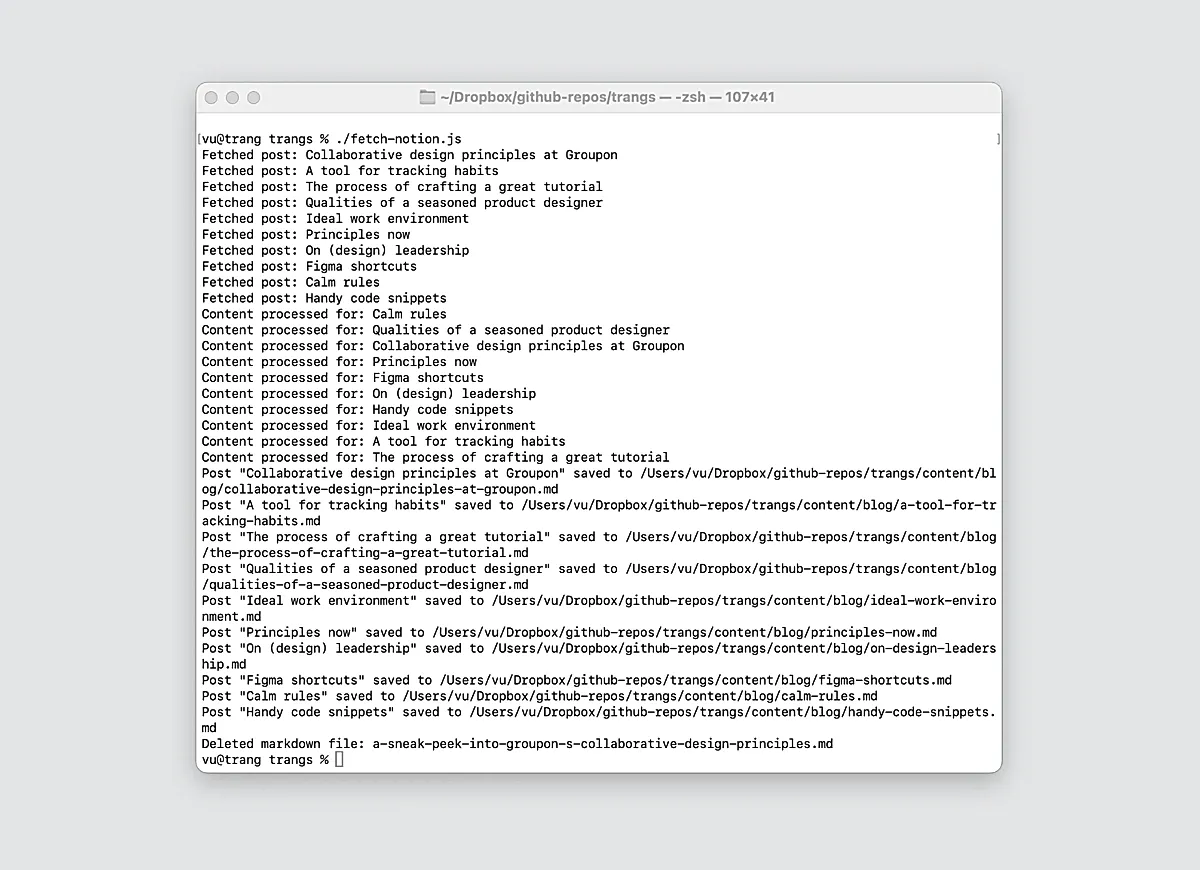
After checking the script output to ensure everything looks good, I commit the changes to the Git repository.
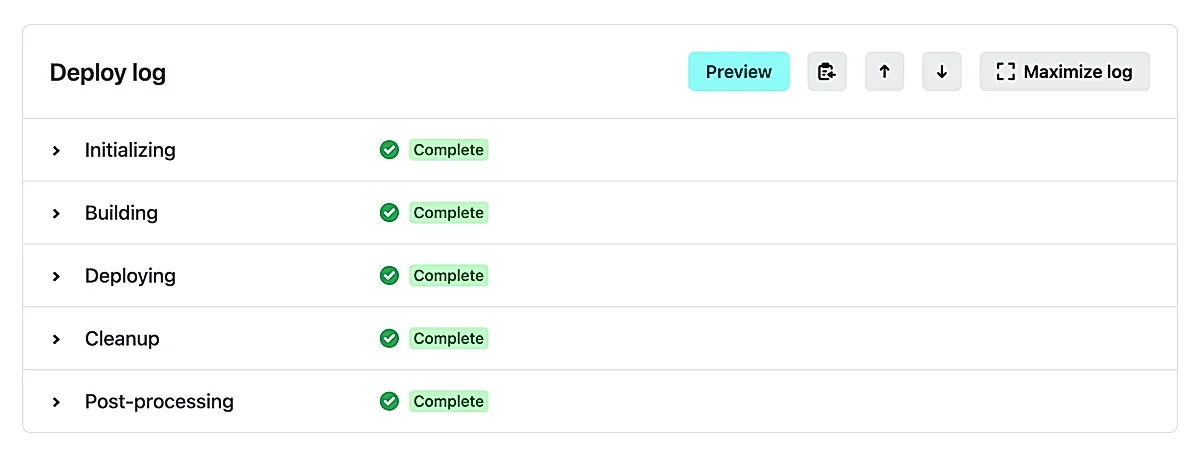
Deploy the site #
After pushing the changes to the repository, Netlify automatically builds and deploys the site.
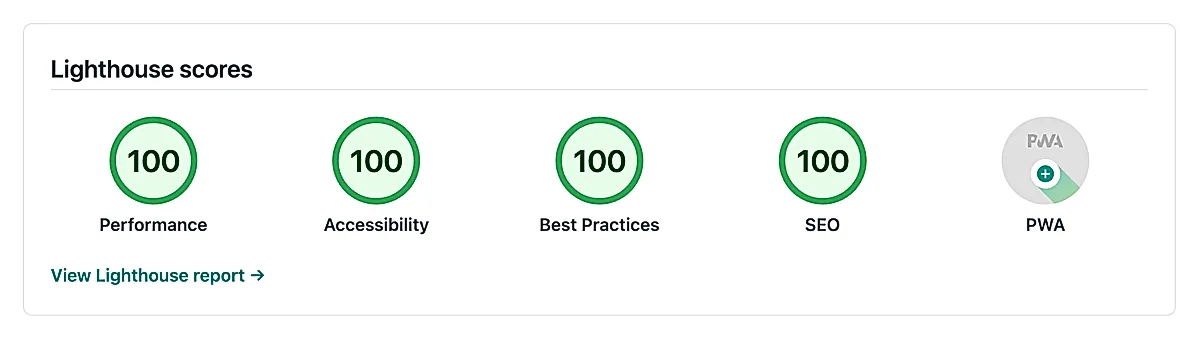
As part of this process, a Lighthouse check runs to ensure the site meets performance, accessibility, and SEO standards.
Room for improvement #
Setting up this site and blog has been a great learning experience, but there's still room for improvement.
Instead of manually generating Markdown files, I'd like to streamline the deployment process so that explicit execution of the fetch-notion.js script isn't necessary.
Fortunately, Notion introduced Webhooks in December '24, and I plan to explore how they can automate this workflow.
Additionally, migrating my portfolio and generating it in the same way as the blog is something I'm considering.
The ultimate goal is to self-host both the site (no need for Netlify) and the git repository (maybe using Gitea?). Dropping Notion is a nice-to-have down the line. Well, I'm getting ahead of myself here, though, mhihi.
Curiosity #
Do you fully own your content as well? I'd love to see what you're building! Feel free to share your blogs, digital gardens, or small personal sites. I'm always curious to connect with like-minded creators.